


Fullerton College Library
Book Scanner At The Library
The book scanner is located on the first floor of the library, in the research area to the east of the Reference Desk.
Top 10 reasons to use the book scanner:
- Much, MUCH easier to copy pages from print books than using the photocopiers.
- Faster than using the photocopiers (two pages at once can be scanned).
- You can scan in color.
- Scans are free to save / send.
- You can sit down and relax while scanning.
- The librarians are nearby if help is needed.
- The scans are high quality.
- While optimized for scanning books, IDs and papers can also be scanned.
- Files can be saved to e-mail, Google Drive, or a USB drive.
- Sanning can reduce unnecessary printing and photocopying.
Quick Start Guide
Step 1: Setting up the Scanner
- To turn on the scanner, press the Stop button.
- Make sure the book is flat with the spine aligned correctly.

Step 2: Launching Software
- Click the ScanSnap Home icon on the Desktop.

- Click on Finish to launch the ScanSnap interface.

Step 3: Begin Scanning
- Select Scan to Folder.
- Click on Scan to begin scanning.

Step 4: Continue/Finish Scanning
- Select Continue Scanning to scan more pages. Make sure to turn the page before clicking on Continue Scanning.
- Select Finish Scanning when finished.

Step 5: Save or Edit
- To save the document as-is, select the first option (shown below).
- Click on Save this image, and skip to step 7.
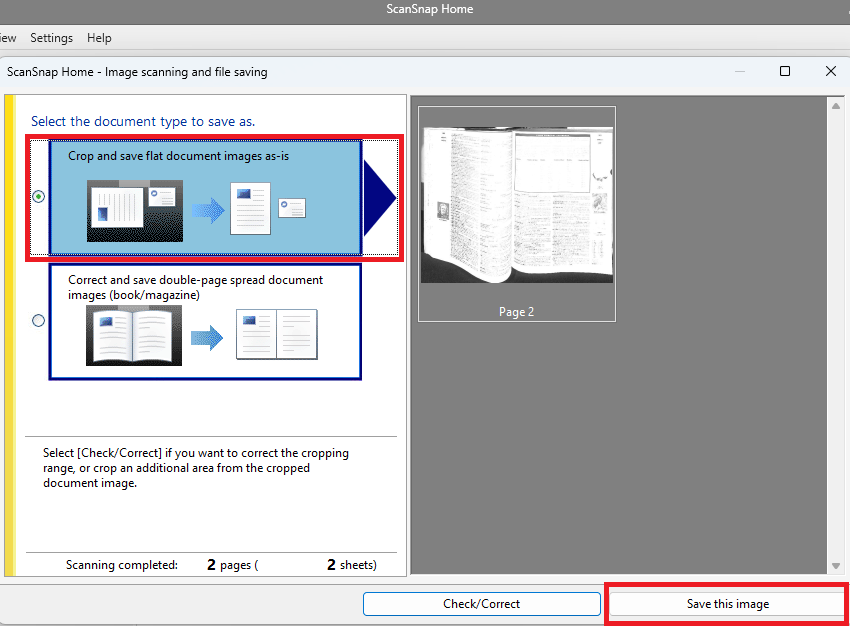
OR
- To edit and correct, select the second option (shown below).
- Click Check/Correct.
- Please refer to the addtional editing options handout for more advanced adssistance.

Step 6: Save Destination
- Enter Title of scanned document(s).
- Click Browse to select a save destination.
- Select Desktop or USB drive.
- Click on Select Folder.
- Click Save.

Step 7: Finished
- The document is now saved to the destination. Finished!
